How To Download and Install WAMP Server on windows
How To Download and Install WAMP Server on Windows
Before proceeding installation of WAMP Server, You should know how about, what is WAMP?
What is WAMP?
WAMP is web development platform, used on windows to create dynamic websites.
What does WAMP stands for?
WAMP is an acronym for :-
W for Windows
A for Apache
M for MySQL/MariaDB
P for PHP
W is Windows (an operating System), Apache is web Server, MySQL/MariaDB is database server and PHP is programming language to develop websites.
How to install WAMP Server
Step 8:
 |
| How To Download and Install WAMP Server on windows |
How to install WAMP Server
To install WAMP server on windows make sure that you have installed all VC++ Redistributable packages on your computer. Now follow these steps:-
Step 1:
Step 1:
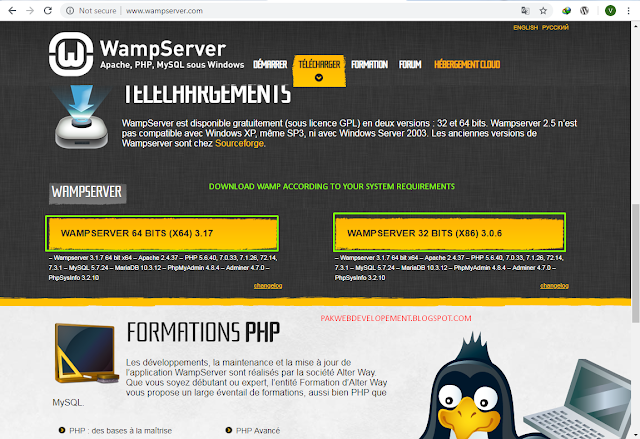
First of all Download WAMP by visiting www.wampserver.com. You can download either 32bit or 64bit according to windows operating system.
Step 3:
Step 5:
Step 2:
When WAMP server is downloaded, Right Click on setup file and then click Run as administrator.
 |
| How to download and install wamp server on windows |
Step 3:
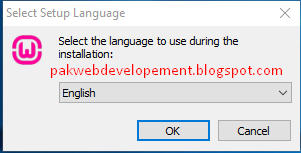
Select language (By default English is selected) and click OK.
 |
| How to Install WAMP |
Step 4:
In this step read and accept the license agreement by selecting radio button I accept the agreement and proceed next.
 |
| WAMP Server Installation Guide for Windows |
Read important information about prerequisite to accomplish installation of WAMP on your computer.
 |
| wamp installation steps |
Step 6:
In this step define path, where you want to install the WAMP Server. Click on browse and provide your installation path. By default it will be installed in C Drive. A Wamp Server folder willl be created on your drive.
 |
| how to install wamp locally |
Step 7:
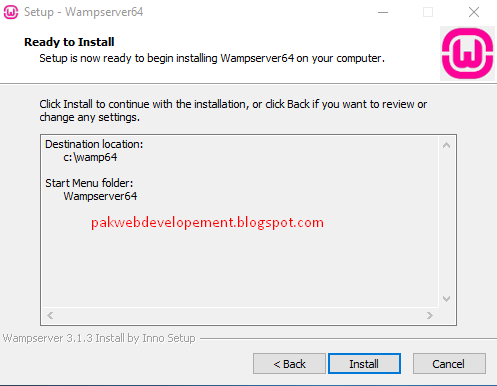
Now a new window will open, click install.
 |
| step by step installation of wamp server |
Step 8:
Your Installation process is started wait for the next step.
 |
| how to install wamp on windows |
Step 9:
When installation process is near to complete a window will prompt to ask you define your browser as shown in image below.
 |
| installing wamp server in windows |
Here chose your favourite browser. To select internet Explorer as your default browser click on "No".
Step 10:
Chose your default editor. To select Notepad as your default editor click "No".
 |
| wamp server installation steps in windows 10 |
Step 11:
Here sometime, a windows security alert prompts. Simply click "Allow Access" button.
 |
| install wamp server in windows 7 |
Step 12:
Again click next to accomplish the installation process.
 |
| wamp server installation on windows 7 |
Step 13:
This is last step, here click "Finish". You have installed successfully WAMP server on your local computer.
 |
| wamp server installation on windows 8.1 |
Now you have to start the WAMP server for first time. Click on WAMP Server icon when it will get ready its color will be green. Write down localhost in your browser and hit Entre key. A window will open just like the image given below.
 |
| wamp installation and configuration |


